To quickly get started, you need to download and install TempletToaster- The free website builder. Once you download and install TemplateToaster on your system or PC, you can start creating websites on your own. Installing TemplateToaster is very quick and easy. Here are the steps that you need to follow:
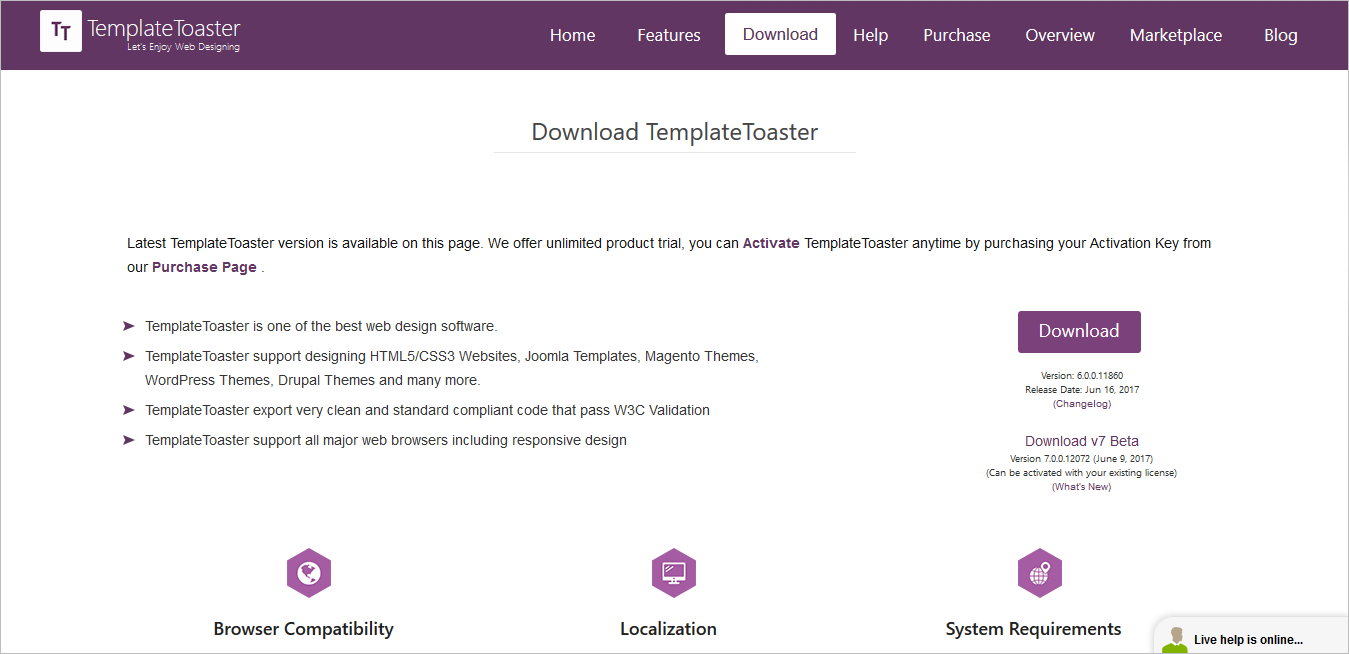
1) Download the latest version of the website maker from the download page.
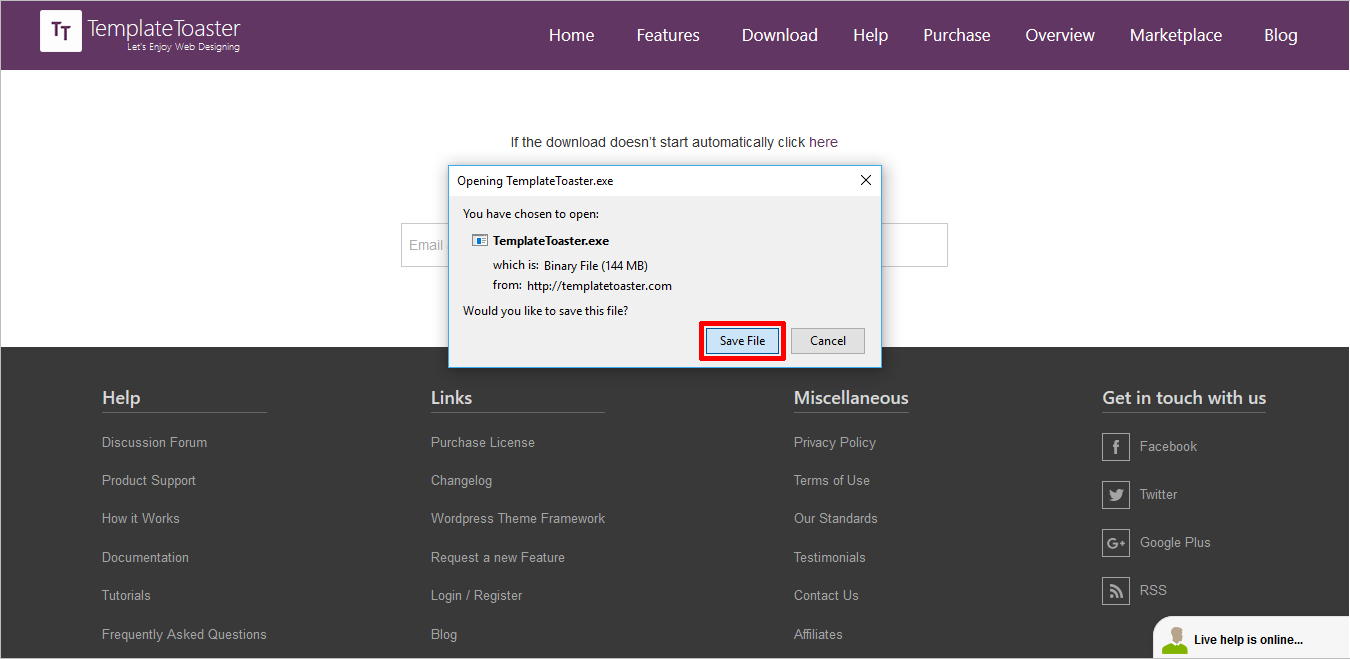
2) Next, save the file as shown below.
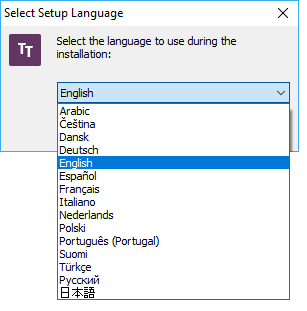
3) Once the downloading is complete, go to the Downloads folder on your system >> double-click on the downloaded TemplateToaster Setup File. You will see the following dialogue box. Choose your language preference and then click on the ‘Ok’ option
4) Then click on the ‘Next’ option.
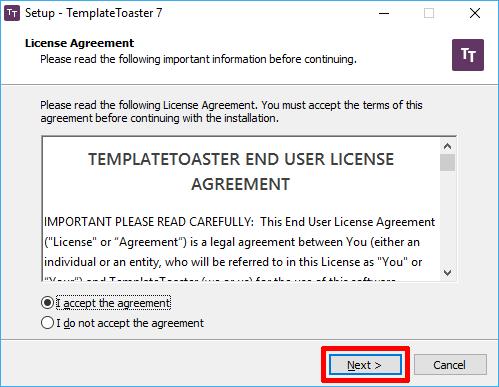
5) You will now have to accept EULA to continue. Then click on ‘I accept the agreement and click on the next option.
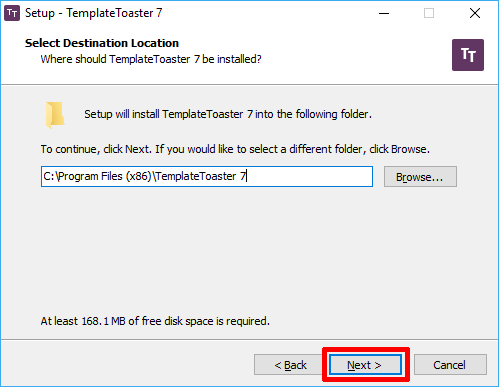
6) Click on the browse button in case you want to change the desired path for installing the software. This is where the TemplateToaster software installation will take place. Otherwise, you can also go with the default pathway settings. Then click on the ‘Next’ option.
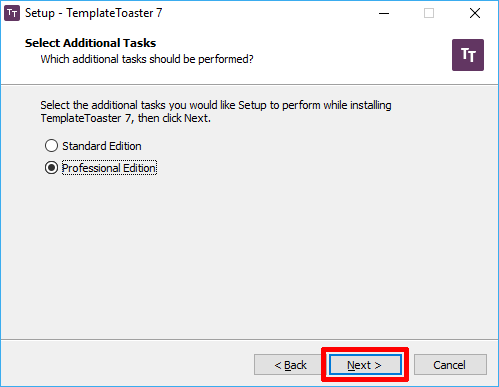
7) Choose the TemplateToaster Edition. Click Next.
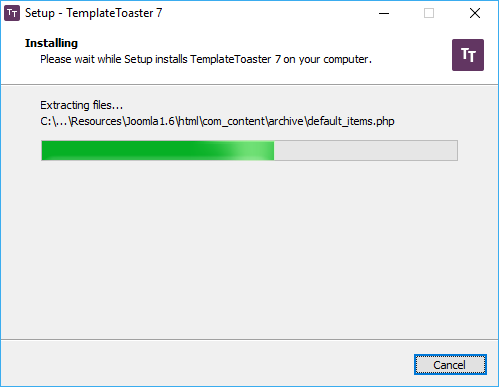
8) Now the software installation process will begin.
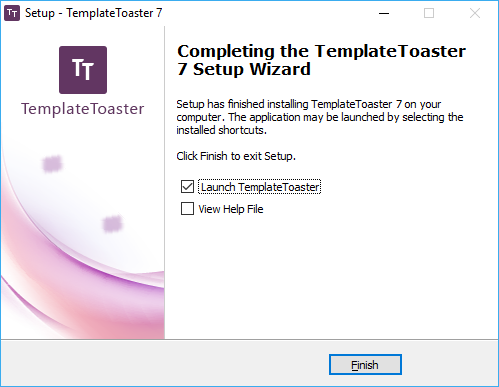
9) Once the download is complete, click on the ‘Finish’ option. And you can finally start using the software to create websites.
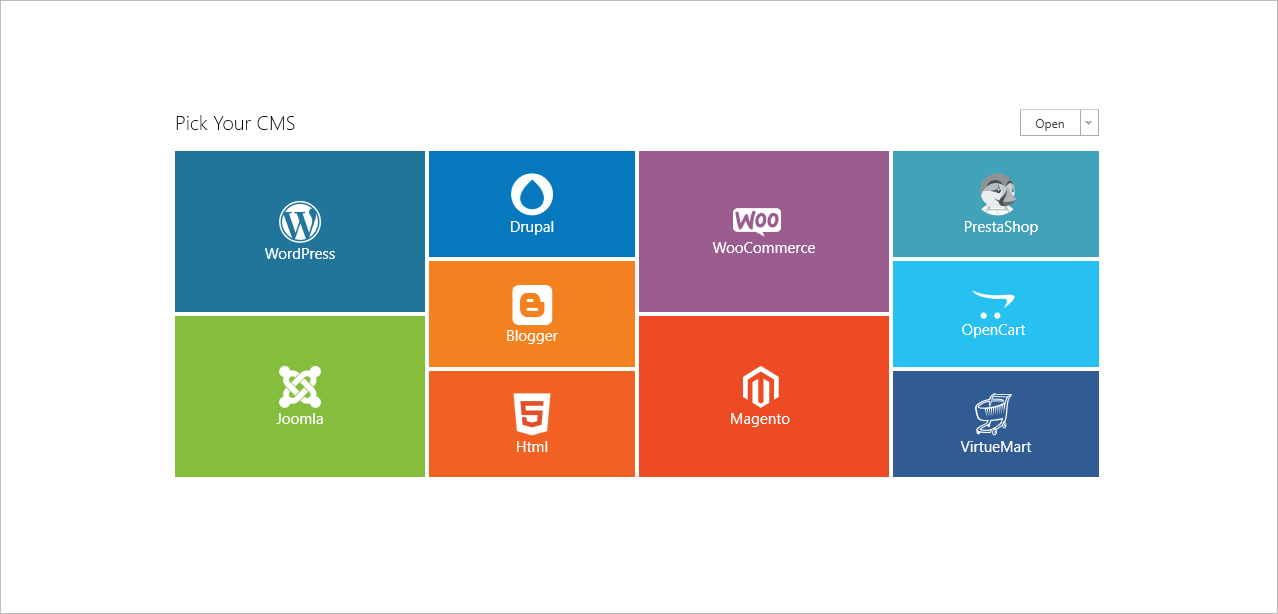
10) As given below, the startup screen will open up on your desktop, once the software is successfully installed. Next, you need to select the desired CMS you want to create web designs for and create a project that starts right away.